
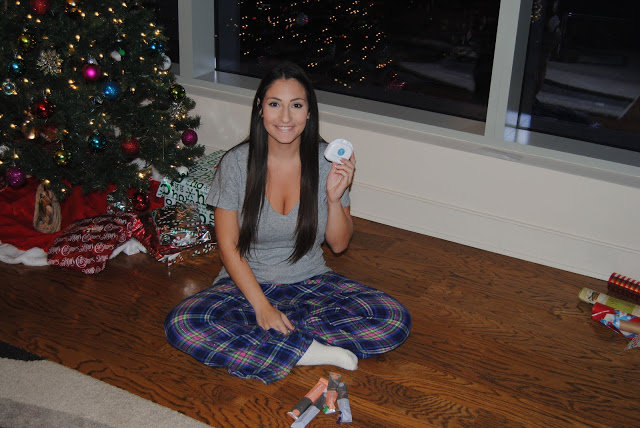
 I’m so excited to share my teeth whitening routine with you guys! I wanted to start whitening because I am a huge coffee drinker – but having a white smile is so important when you are constantly taking pictures. I decided to try out Smile Brilliant because it gives me the same results as a dentist in the comfort of my home!The Smile Brilliant kit has you make impressions of your teeth, so you know the tray is made specifically for your smile. It’s so easy to make the impressions, and you receive your trays quickly afterward. I also struggle with tooth sensitivity, so I was really excited when I found out Smile Brilliant not only comes with whitening gel, but it also includes desensitizing gel!Below I’m sharing the 4 easy steps to a whiter smile once you receive your custom trays!
Step 1:
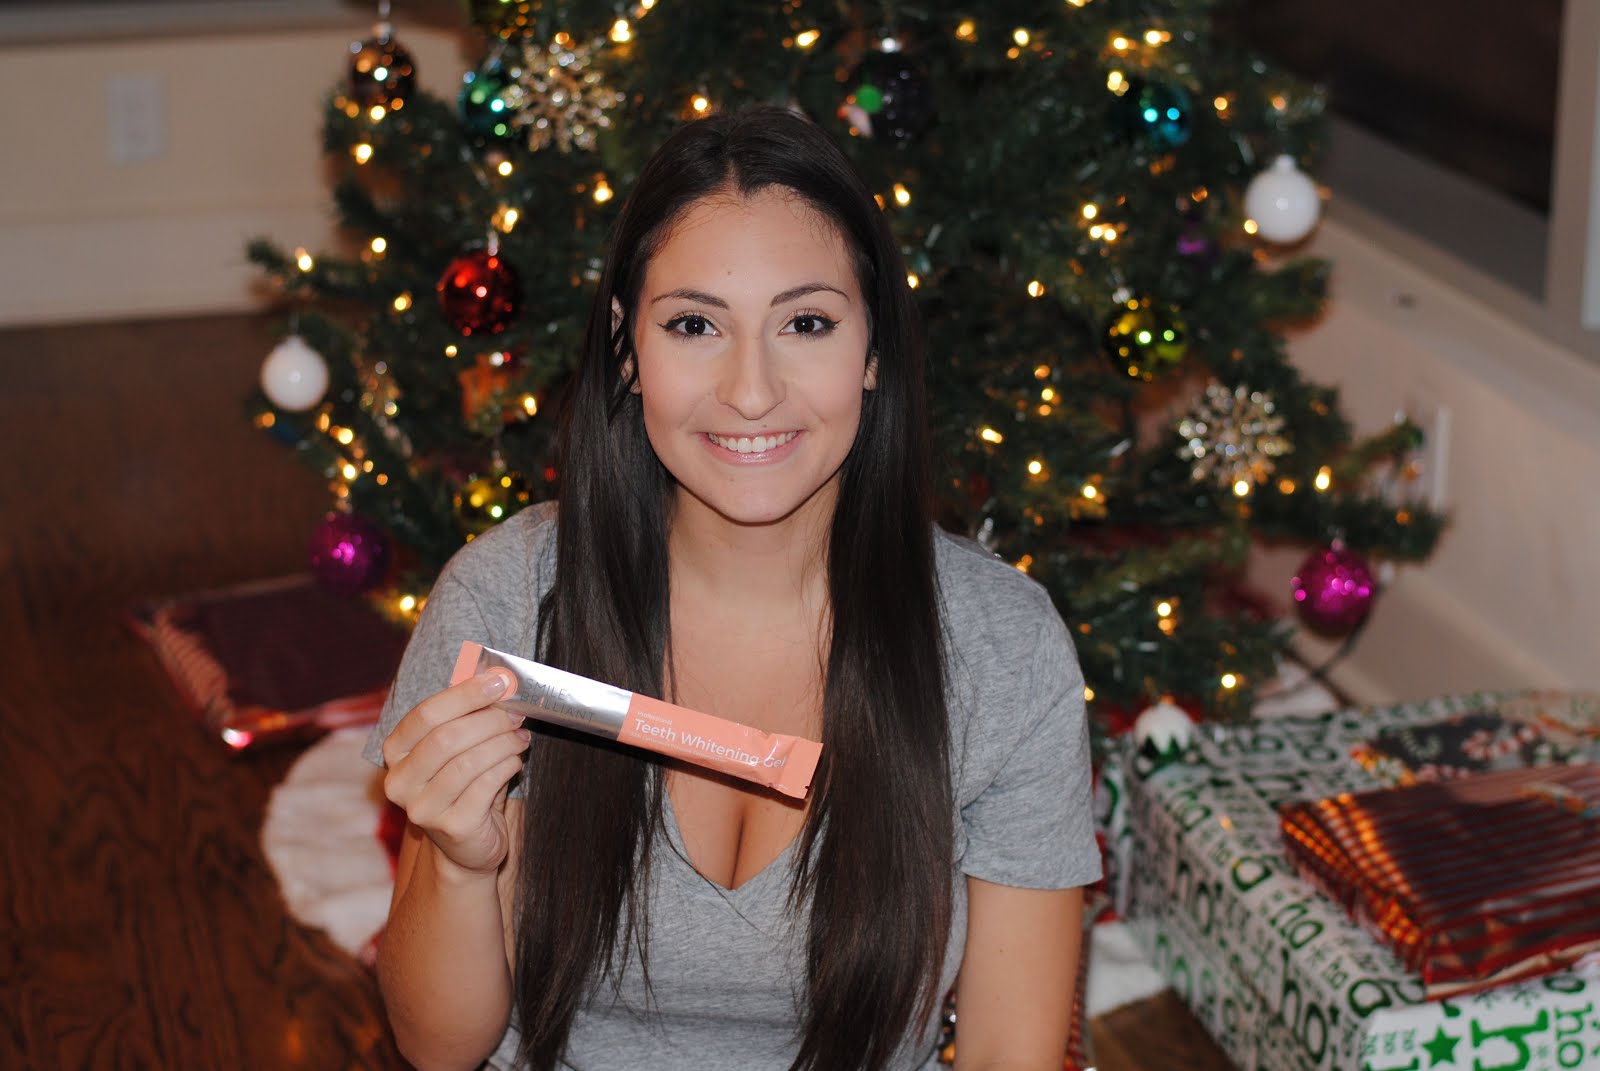 The first step is to unwrap the orange package labeled “Teeth Whitening.” You easily dispense the gel through the syringe and into your custom tray. You’ll put the gel on both the top and bottom.
Step 2:
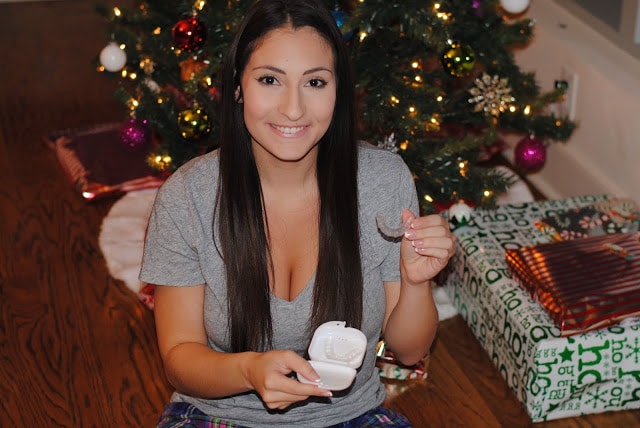


Step 3:
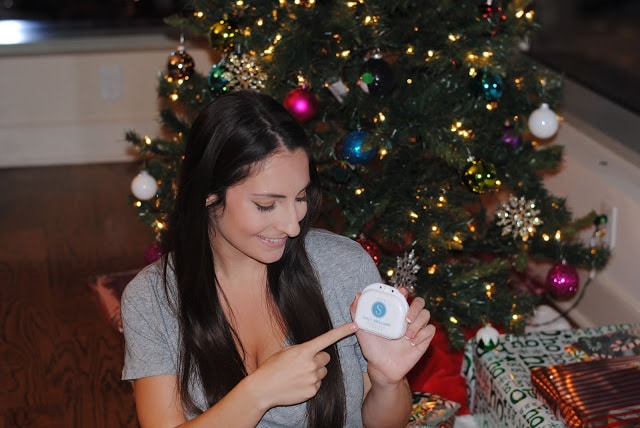
 Once your whitening time is up, you’ll take out the trays and wash out your mouth. Go ahead and brush your teeth after you’re done whitening! Once you’re done with that, it’s time to grab the Desensitizing Gel. This step is so important to me because I have such sensitive teeth – eating chocolate or drinking cold drinks can cause me pain. This gel has honestly helped with my sensitivity!
Step 4:
 After applying gel to the top and bottom trays, you’ll wear them again for 15 – 20 mins. When time is up you’ll wash out your trays, but don’t wash out your mouth! You can leave the gel on for further absorption while you sleep. That’s why doing this process right before bed works best!
And that’s it!! It’s that easy. Most people see results in 7-10 nights, but they give you a ton of gel, so I plan to continue my whitening!
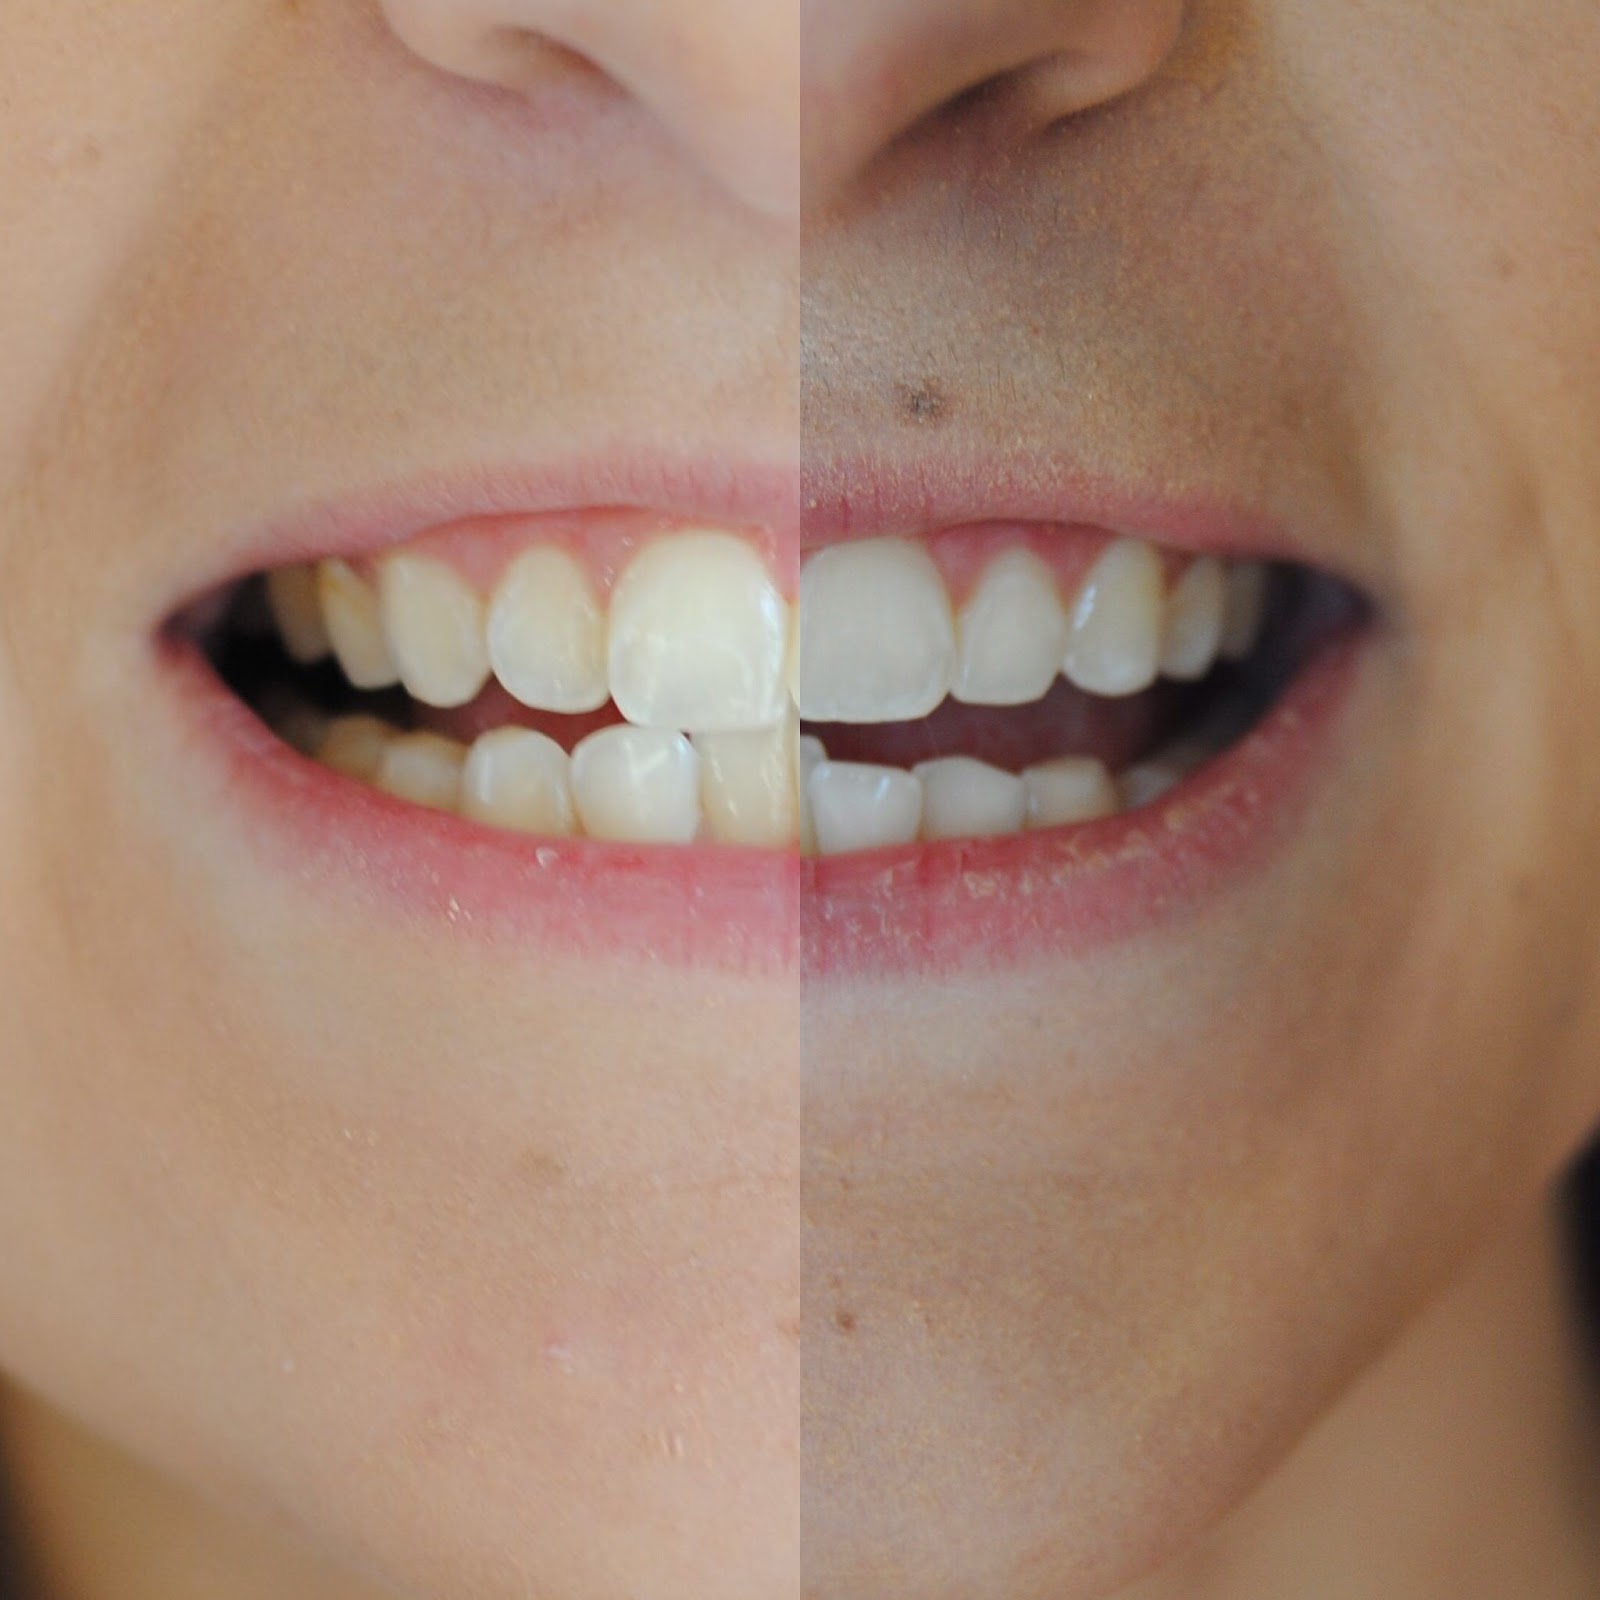
 Here are my before and after pictures after just 7 nights of whitening!! The results are amazing! I’m giving away a free whitening kit to a lucky reader, so make sure to enter your name below!
 To read more about Smile Brilliant check out the links below:
– Benefits of custom fit whitening trays
– How I whitened my teeth at home video
|| Karina ||
Thanks to Smile Brilliant for collaborating on this post!
Really want to try this! I've been afraid because of my sensitive teeth – so I'm glad to hear from someone else who has sensitivity and has tried it.
Barb H.
In the event that your teeth are not very severely recolored, you ought to consider utilizing home teeth brightening frameworks. Not exclusively do you spare several dollars, it is sans bother since you don't need to make a dental arrangement or advance toward the dental facility. http://www.flosseroo.com/best-water-flosser/